

Yesterday I went to get the header panel for my penny arcade machine painted up so it would say 'The Tattooed Lady'. I knew I wanted it to have a classic style font and have a vintage look but I was less than confident that I could pull off the execution myself. I've used text in my work many times before but I knew that there was no way I could fake years of training and expertise to give my machine an authentic look. Here you can see the where the panel will be on The Tattooed Lady. Once fitted it will be surrounded by lights:

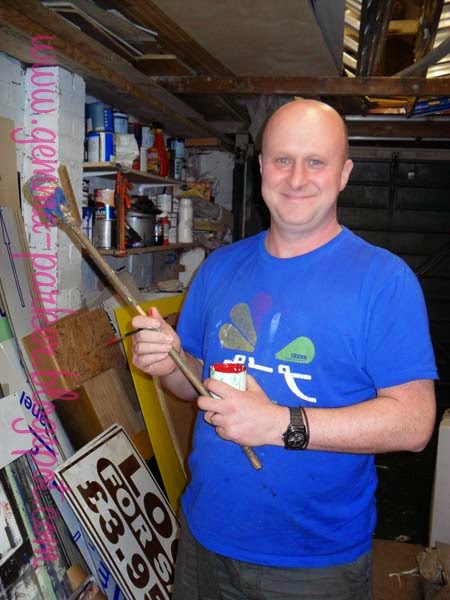
This is Damian of Damian Whyatt Signwriting who talked me through the process as he worked on my panel.
I had prepared the MDF panel the day before by priming it several times and sanding it down between coats to make it a smooth as possible then painting it with a sumptuous red acrylic. Damian began by using a template he had already drawn out and covering the back in chalk. He than traced over the original lines to transfer the design.


Next he taped up the lines of the decorative border and top and bottom of the letters. Then he began to paint them in using enamel paint with a special long flat bristled brush. It was magical to watch the paint glide on so perfectly!


Once the lower case letters had been completed the tape was pulled away from them to reveal a clean crisp edge. Next the larger letters with flourishes were painted in and the boarder filled in using the same process.


Damian then began to paint in the shadow in a dark red enamel paint. This small additionn made a huge difference and made the letters pop! The gap between the yellow and the dark red created a more dramatic look than if they had simply been painted to touch.


The whole process took about an hour and a half and was a real insight into the sign writing art form. I am really pleased with the finsihed piece and can't wait to see how it will look when it sits atop my penny arcade machine.
No comments:
Post a Comment